Luscious Chocolate-Peanut Butter Cups
Highlighted under: Classic Baking Recipes
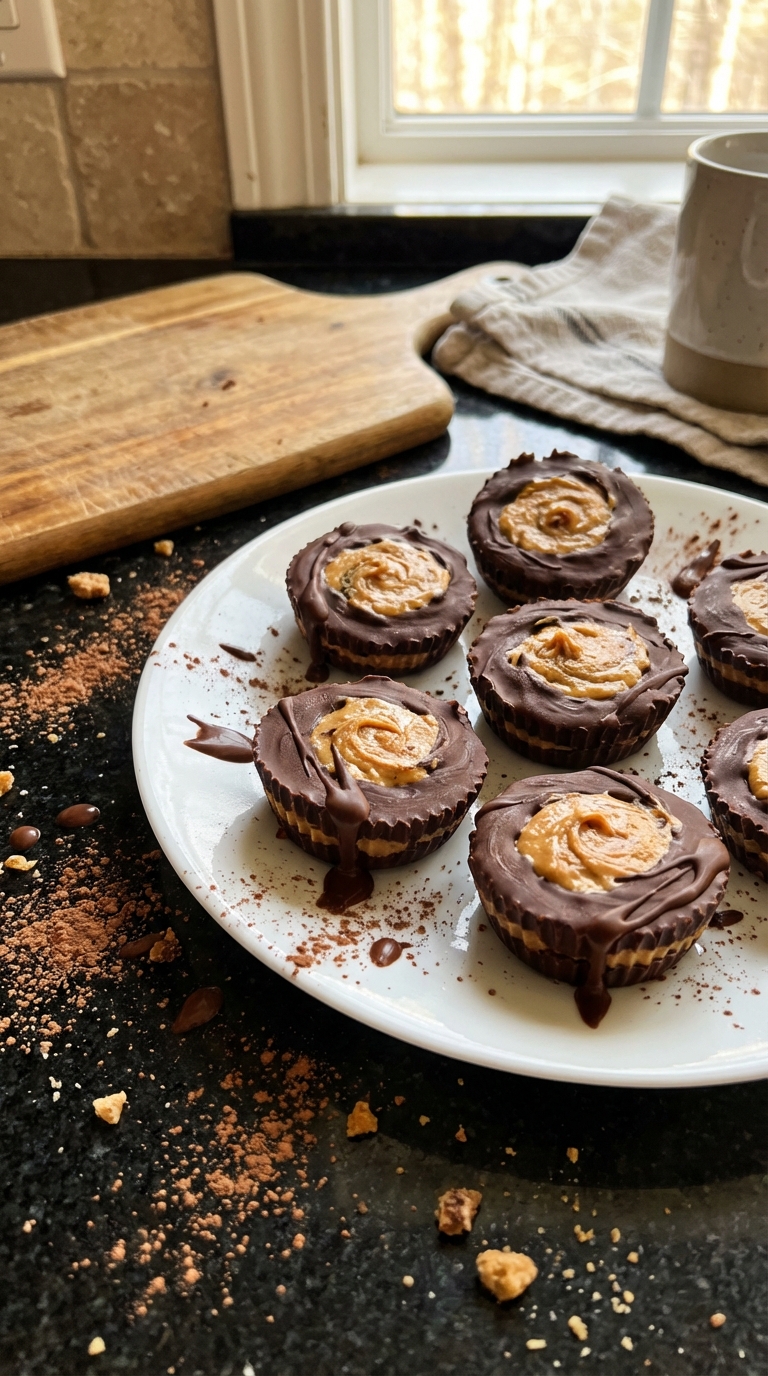
I believe there’s something undeniably magical about biting into rich chocolate that reveals a creamy, smooth peanut butter center. When I first tried making these Luscious Chocolate-Peanut Butter Cups, I was amazed at how simple it could be to replicate a classic treat at home! Perfect for satisfying my sweet tooth or sharing with friends at gatherings, this recipe quickly became a favorite. With just a handful of ingredients and minimal time, you can experience the bliss of this delightful combination without any fuss.
When I took my first bite of these Luscious Chocolate-Peanut Butter Cups, it felt like a nostalgic trip back to my childhood. The combination of the rich chocolate coating and the creamy peanut butter filling was simply irresistible. I found that melting the chocolate and allowing it to cool slightly before pouring it over the peanut butter helped achieve a glossy finish, elevating the overall presentation.
This treat has been a showstopper at every gathering I've taken them to. One important tip I learned is to let them set in the fridge for adequate time; this not only helps them hold their shape but also intensifies the flavors. Trust me, it's worth the wait!
Why You'll Love These Cups
- Decadent chocolate paired with creamy peanut butter creates an unforgettable taste sensation.
- They're quick to prepare, making them a perfect last-minute dessert option.
- You can customize them by adding nuts, sea salt, or other fillings for a personal touch.
Crafting the Perfect Chocolate Layer
Melting the chocolate correctly is crucial for achieving smooth and glossy chocolate cups. I recommend using high-quality semisweet chocolate chips, as they provide the rich flavor that pairs beautifully with the peanut butter. When microwaving, ensure you stir every 30 seconds; keep an eye out for the first signs of melting. Once the chocolate is almost melted, remove it from the microwave and continue stirring until fully melted to prevent overheating, which can lead to a grainy texture.
Applying the right amount of melted chocolate to the muffin liners creates a solid base for your cups. Aim for approximately one tablespoon in each liner to ensure that there’s enough chocolate to hold the structure without overwhelming the peanut butter filling. It’s important to spread the chocolate slightly up the sides for better structural integrity. After chilling for 10 minutes, check that the chocolate is firm enough to support the creamy filling without collapsing.
Enhancing the Peanut Butter Center
The peanut butter filling is where the magic truly happens. Using creamy peanut butter is key; it guarantees a smooth texture that melds perfectly with the chocolate. If you're looking for a less sweet version, try using natural peanut butter without added sugars. Just keep in mind that natural peanut butter may result in a looser filling, so you might want to adjust the powdered sugar slightly to maintain strength.
Mixing the peanut butter with powdered sugar not only sweetens but also helps the filling hold its shape when layered. This is a critical step to ensure that the filling doesn’t ooze out after the cups are set. After mixing, make sure the filling has a uniform consistency without any lumps. It should be thick yet spreadable—aim for a texture that’s smooth enough to dollop easily onto the chocolate base.
Customizing and Serving Suggestions
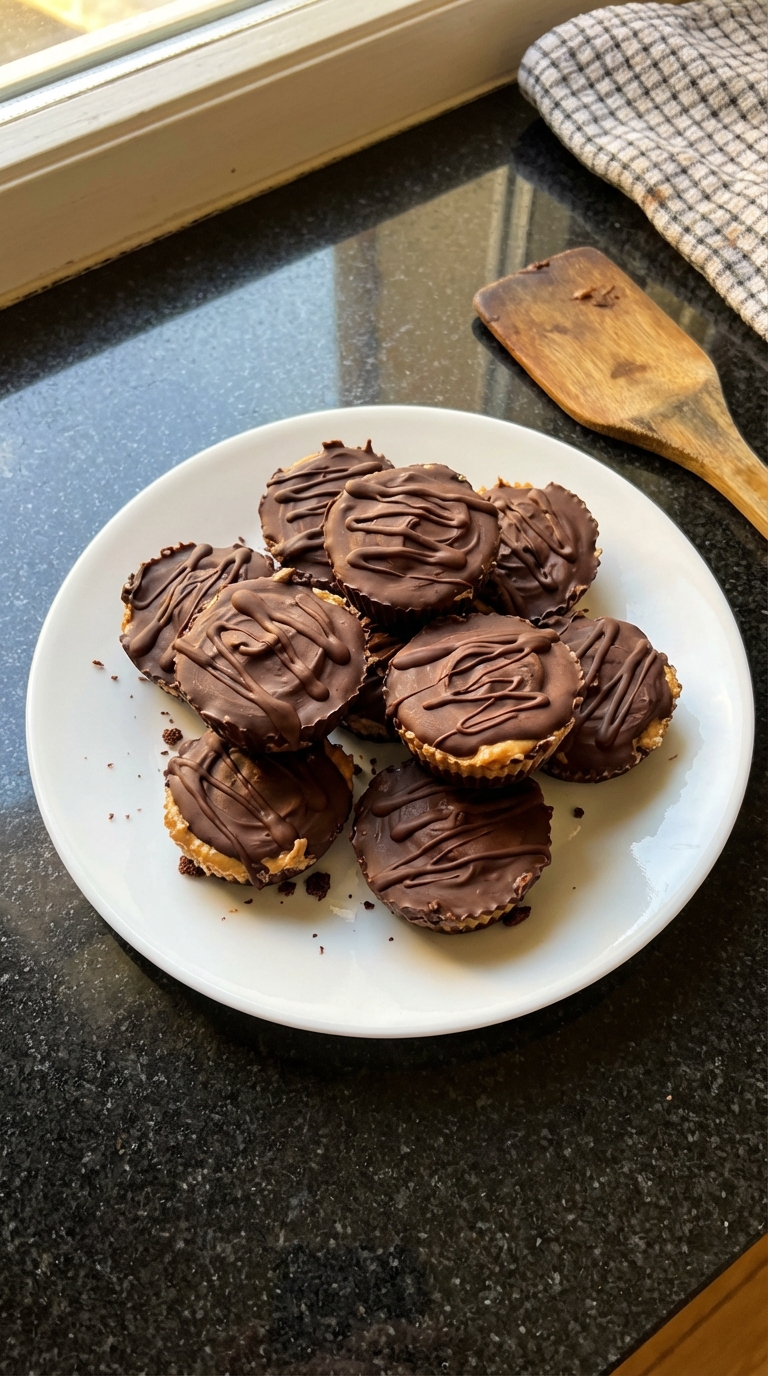
These chocolate-peanut butter cups are wonderfully versatile, and customizing them can elevate your treat to the next level. Consider adding a sprinkle of sea salt on top of the melted chocolate for a savory twist that enhances the sweet elements. You could also integrate crushed nuts, such as almonds or pecans, into the peanut butter filling for added texture and a nutty crunch. For a fun variation, try substituting almond or cashew butter for a different nutty flavor profile.
Once the cups are chilled and firm, they can be stored in the refrigerator for up to two weeks in an airtight container. If you’d like to prepare them ahead of time, they freeze beautifully! Just make sure to place them in a single layer in a freezer-safe container. When ready to enjoy, allow them to thaw in the fridge for a few hours before serving to ensure the perfect texture and taste.
Ingredients
Ingredients
For Chocolate-Peanut Butter Cups
- 1 cup semisweet chocolate chips
- 1/2 cup creamy peanut butter
- 1/4 cup powdered sugar
- 1 tablespoon butter
- 1/2 teaspoon vanilla extract
- 1/8 teaspoon salt
Instructions
Instructions
Prepare the Muffin Tin
Line a muffin tin with paper liners to prevent sticking. Set aside.
Melt the Chocolate
In a microwave-safe bowl, combine the chocolate chips and butter. Microwave in 30-second intervals, stirring in between, until melted and smooth.
Create the Chocolate Base
Spoon a small amount of melted chocolate into the bottom of each liner, about 1 tablespoon. Use the back of the spoon to spread it up the sides slightly. Refrigerate for 10 minutes to allow the chocolate to harden.
Make the Peanut Butter Filling
In a medium bowl, combine the peanut butter, powdered sugar, vanilla extract, and salt. Mix until smooth and well incorporated.
Assemble the Cups
Remove the muffin tin from the refrigerator and add about 1 tablespoon of the peanut butter mixture on top of the hardened chocolate. Press down gently to flatten.
Top with More Chocolate
Pour another tablespoon of melted chocolate over the peanut butter layer to cover it completely. Use a spoon to smooth it out.
Chill and Serve
Return the muffin tin to the fridge and let the cups set for at least 30 minutes or until firm. Once set, remove from the tin, peel off the liners, and enjoy!
Pro Tips
- For an extra crunch, try adding chopped nuts or a sprinkle of sea salt on top of the cups before chilling. These delicious treats can also be made ahead of time and stored in an airtight container in the refrigerator for up to a week.
Chocolate Melting Techniques
To achieve a perfectly melted chocolate layer, there are a few techniques to consider. Aside from the microwave method, you could use a double boiler. Simply place a heat-safe bowl over a pot of simmering water, making sure the bottom of the bowl doesn’t touch the water. Stir continuously until the chocolate is melted and glossy. This method allows for more controlled heat and less risk of burning.
While melting chocolate, it's helpful to keep your tools and bowl dry. Any moisture can cause the chocolate to seize, resulting in a thick, unusable mess. If this happens, a splash of vegetable oil or shortening can salvage the chocolate by restoring its fluidity, although it may alter the final texture slightly.
Troubleshooting Common Issues
If your chocolate doesn't seem to harden properly after chilling, double-check the thickness of your chocolate layer. If too thin, it may not set. Ensure you're using the correct measurements for ingredients and that the chocolate is sufficiently cooled before adding the peanut butter filling. If you find the filling is too runny, consider adding an extra tablespoon of powdered sugar to improve its texture.
When it comes to removing the cups from the muffin tin, patience is key. If the chocolate cups stick to the liners, they might not have fully set. Allow them to chill longer in the refrigerator. If you're encountering an issue with the chocolate cracking upon lifting, this might be due to the cooling rate; try to refrigerate them in a less humid environment to prevent moisture from affecting the chocolate surface.
Questions About Recipes
→ Can I use dark chocolate?
Absolutely! Dark chocolate will give a richer flavor profile to your cups.
→ How should I store these cups?
Store them in an airtight container in the refrigerator to keep them fresh.
→ Can I use crunchy peanut butter?
Yes, using crunchy peanut butter will add a delightful texture to the cups.
→ How long do these cups last?
They typically last about a week when stored properly in the fridge.
Luscious Chocolate-Peanut Butter Cups
Created by: The Flavorshade Team
Recipe Type: Classic Baking Recipes
Skill Level: Easy
Final Quantity: 12 cups
What You'll Need
For Chocolate-Peanut Butter Cups
- 1 cup semisweet chocolate chips
- 1/2 cup creamy peanut butter
- 1/4 cup powdered sugar
- 1 tablespoon butter
- 1/2 teaspoon vanilla extract
- 1/8 teaspoon salt
How-To Steps
Line a muffin tin with paper liners to prevent sticking. Set aside.
In a microwave-safe bowl, combine the chocolate chips and butter. Microwave in 30-second intervals, stirring in between, until melted and smooth.
Spoon a small amount of melted chocolate into the bottom of each liner, about 1 tablespoon. Use the back of the spoon to spread it up the sides slightly. Refrigerate for 10 minutes to allow the chocolate to harden.
In a medium bowl, combine the peanut butter, powdered sugar, vanilla extract, and salt. Mix until smooth and well incorporated.
Remove the muffin tin from the refrigerator and add about 1 tablespoon of the peanut butter mixture on top of the hardened chocolate. Press down gently to flatten.
Pour another tablespoon of melted chocolate over the peanut butter layer to cover it completely. Use a spoon to smooth it out.
Return the muffin tin to the fridge and let the cups set for at least 30 minutes or until firm. Once set, remove from the tin, peel off the liners, and enjoy!
Extra Tips
- For an extra crunch, try adding chopped nuts or a sprinkle of sea salt on top of the cups before chilling. These delicious treats can also be made ahead of time and stored in an airtight container in the refrigerator for up to a week.
Nutritional Breakdown (Per Serving)
- Calories: 380 kcal
- Total Fat: 26g
- Saturated Fat: 15g
- Cholesterol: 195mg
- Sodium: 85mg
- Total Carbohydrates: 32g
- Dietary Fiber: 3g
- Sugars: 24g
- Protein: 6g